


 USD
USD EUR
EUR GBP
GBP CAD
CAD AUD
AUD HKD
HKD JPY
JPY KRW
KRW SGD
SGD NZD
NZD THB
THB TWD
TWD English
 繁體中文
繁體中文 日本語
日本語 한국어
한국어 ไทย
ไทย Bahasa Indonesia
 Français
 Español
 Deutsch
 Português
 Nederlands
 Tiếng Việt
By EVPADPro | 24 December 2019 | 0 Comments
How to Install and Set up Your Smart TV Box?
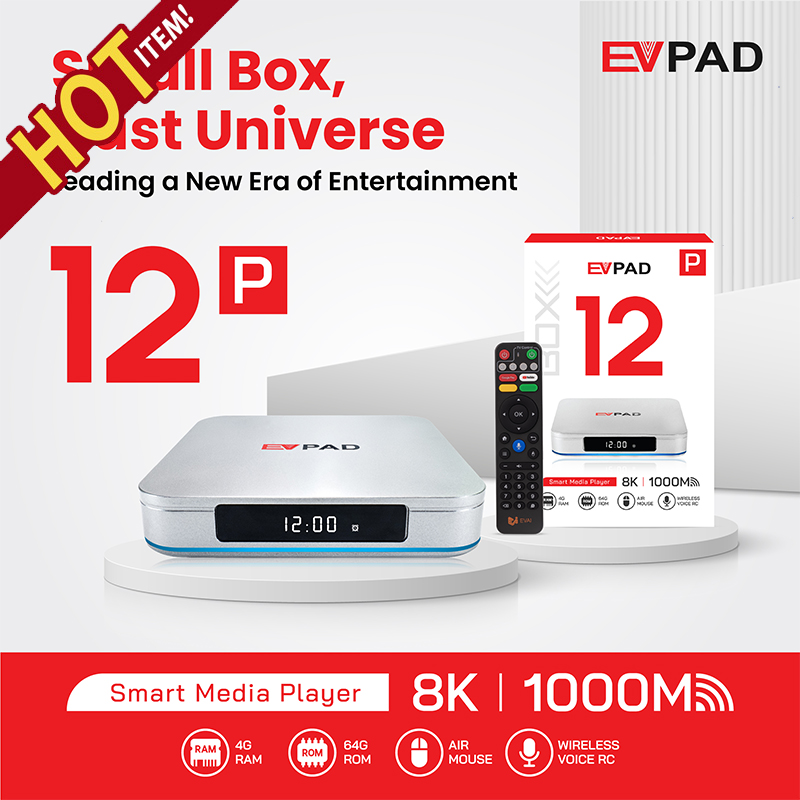
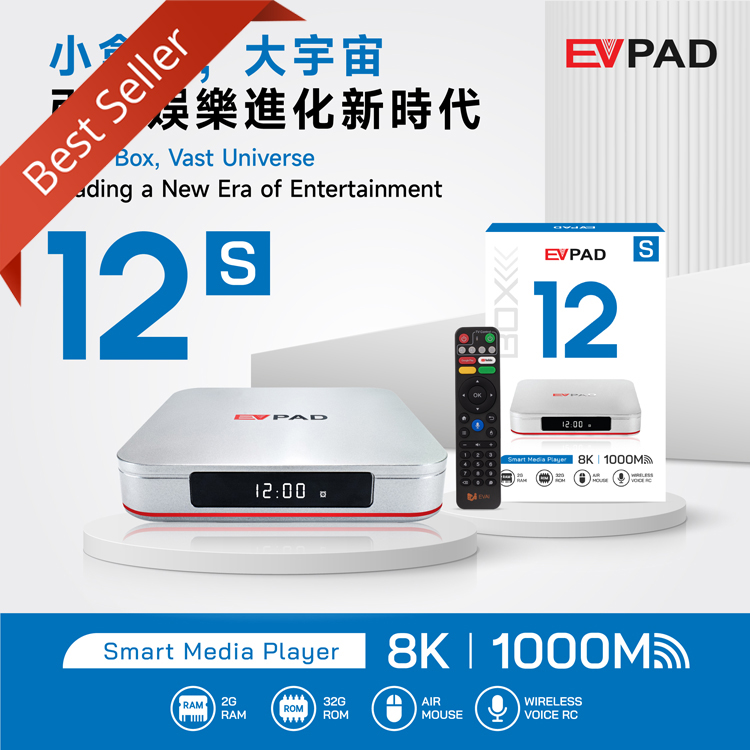
EVPAD is one of the best Smart TV box brands on the market. The Chinese company features an EVPAD app and online platform to search for the best smart TV boxes. The company is highly reputable as it guarantees quality and efficiency. Therefore, it is the best place to go if you are looking for smart TV boxes. After acquiring your smart TV box, the next step is setting it up. Thus, this post looks into how to set up a smart free TV box.
How to set up your smart TV box? How to install EVPAD TV box? Below is the process of setting up your smart TV box:
1. Connect the Smart TV box
Perhaps, this is the easiest part of the process. You have to start by turning off your TV. This step is recommended for whenever you are connecting or disconnecting devices to your TV. Once your TV is off, you can connect the smart TV box to your TV using the HDMI cable. You should find the HDMI port on the back of your android TV box and at the bottom, side, or back of your TV, depending on the type and brand.
From here, you must connect one end of the HDMI port to your smart TV box and the other end to your TV. Note that your TV must be an HDTV with an HDMI port for this part of the process to work. The next step is to connect both your Smart TV box and your TV to a power cable. The TV box will turn on automatically. If that does not happen, you can turn it on using your Android TV box remote control.
2. Change your input settings
After you have connected the two devices following the steps above, you can now change the settings on your TV. Start by looking for the INPUT or SOURCE button on your TV remote. The button labeling may vary depending on the type of TV you have. Pressing the button will result in a list of options displayed on your TV.
Scroll down the options and select HDMI. After doing this, you should see the welcome screen on your TV. If your TV has more than one HDMI port, you will have to look at the label on the port you used to pick the right option on the input list. Some Smart TV boxes may require you to pair your remote, while others will pair automatically.
3. Set up the Smart TV box
After the steps above, the next part is setting up your Android or smart TV box. Here, you must start by selecting your language using the navigation key on your remote. Once you have set the right language, you can choose your internet network. Note that most Smart TV boxes only connect to wireless networks.
However, there are a few options on the market that allow for ethernet connection. These usually come with an ethernet port. The best smart TV boxes have an automatic setup process. But, if you do not have such boxes, you will have to connect to the internet manually using your remote. Select settings, then network on your remote. Pick your wireless network and link the device.
Conclusion
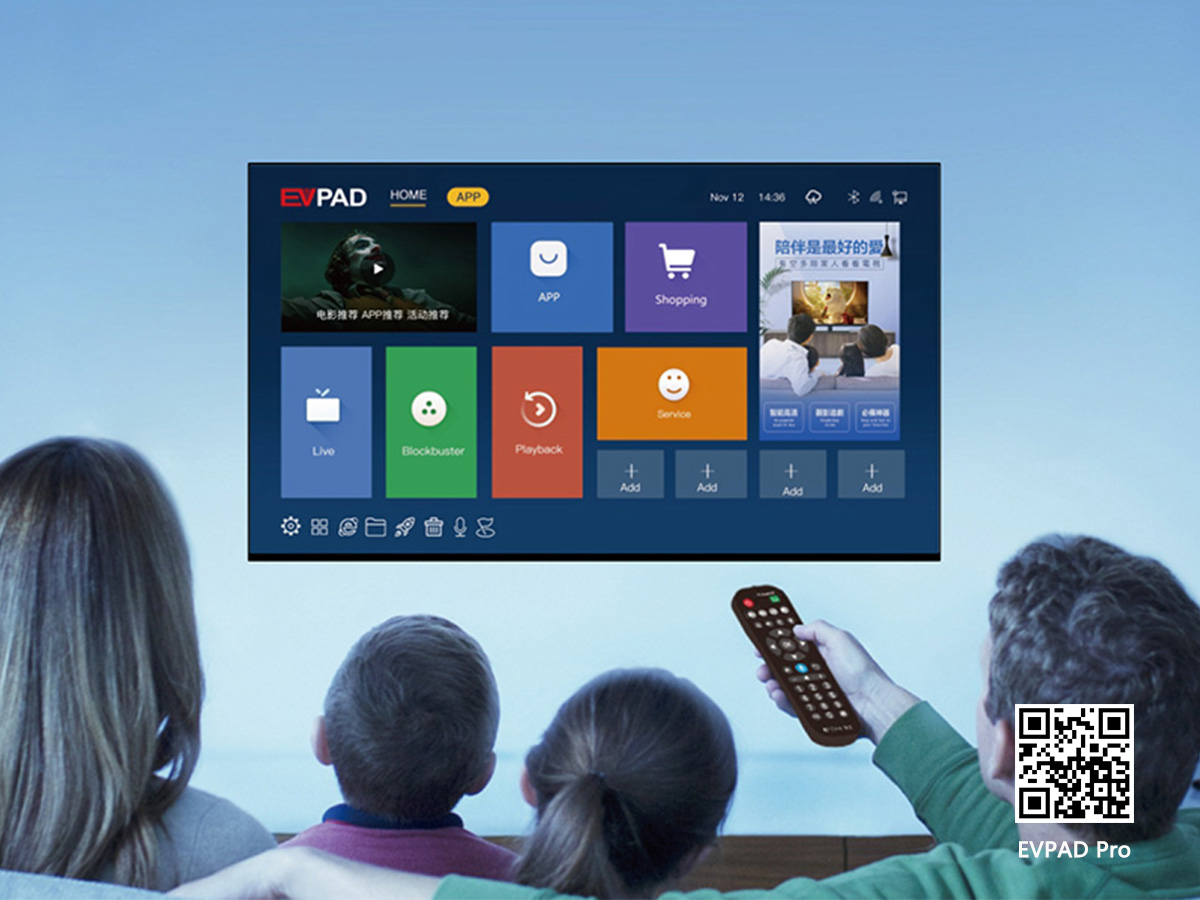
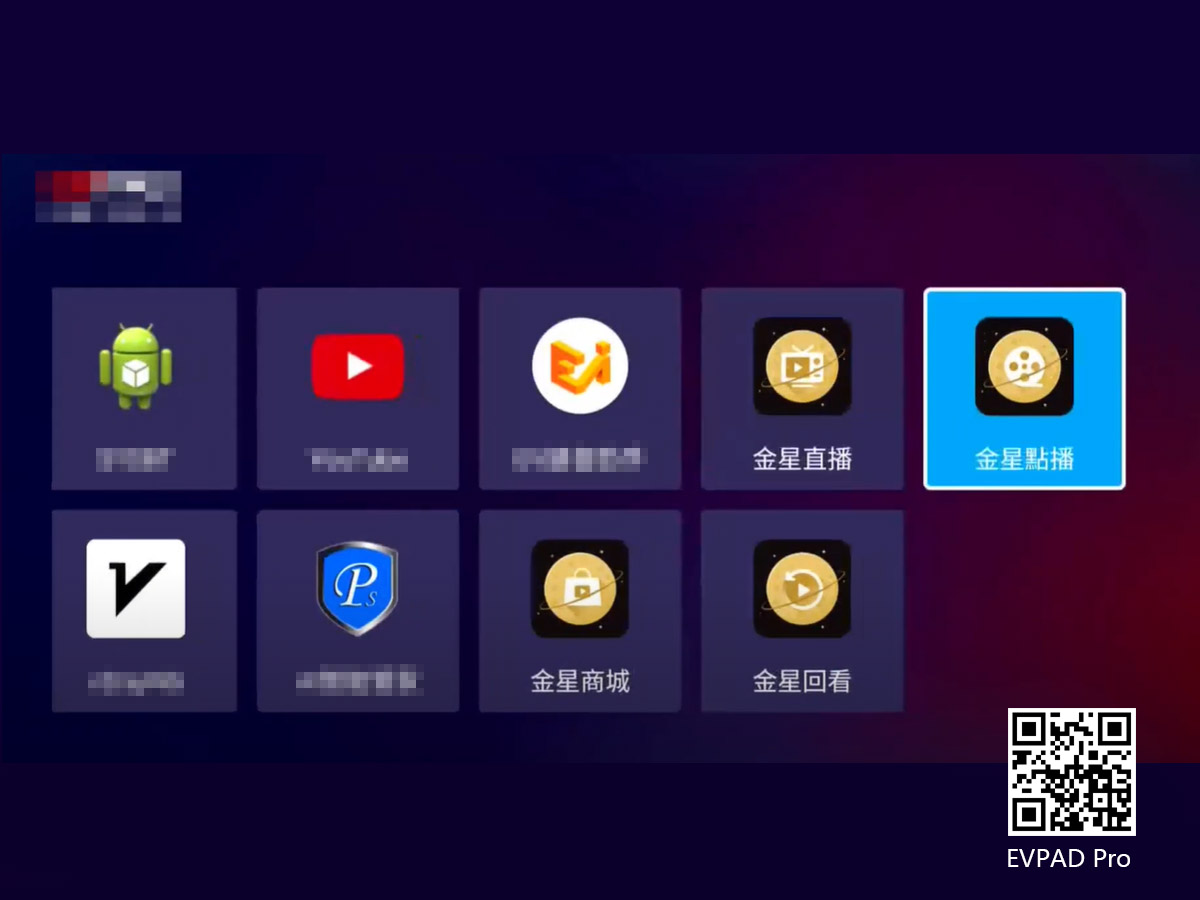
Once you have completed the above steps, you will have to wait for the EVPAD android box to update. From there, you can start enjoying its features. You can download apps from the Google App Store and start streaming content. If your smart TV box has international channels, you can begin viewing the content.

How to set up your smart TV box? How to install EVPAD TV box? Below is the process of setting up your smart TV box:
1. Connect the Smart TV box
Perhaps, this is the easiest part of the process. You have to start by turning off your TV. This step is recommended for whenever you are connecting or disconnecting devices to your TV. Once your TV is off, you can connect the smart TV box to your TV using the HDMI cable. You should find the HDMI port on the back of your android TV box and at the bottom, side, or back of your TV, depending on the type and brand.
From here, you must connect one end of the HDMI port to your smart TV box and the other end to your TV. Note that your TV must be an HDTV with an HDMI port for this part of the process to work. The next step is to connect both your Smart TV box and your TV to a power cable. The TV box will turn on automatically. If that does not happen, you can turn it on using your Android TV box remote control.
2. Change your input settings
After you have connected the two devices following the steps above, you can now change the settings on your TV. Start by looking for the INPUT or SOURCE button on your TV remote. The button labeling may vary depending on the type of TV you have. Pressing the button will result in a list of options displayed on your TV.
Scroll down the options and select HDMI. After doing this, you should see the welcome screen on your TV. If your TV has more than one HDMI port, you will have to look at the label on the port you used to pick the right option on the input list. Some Smart TV boxes may require you to pair your remote, while others will pair automatically.
3. Set up the Smart TV box
After the steps above, the next part is setting up your Android or smart TV box. Here, you must start by selecting your language using the navigation key on your remote. Once you have set the right language, you can choose your internet network. Note that most Smart TV boxes only connect to wireless networks.
However, there are a few options on the market that allow for ethernet connection. These usually come with an ethernet port. The best smart TV boxes have an automatic setup process. But, if you do not have such boxes, you will have to connect to the internet manually using your remote. Select settings, then network on your remote. Pick your wireless network and link the device.

Conclusion
Once you have completed the above steps, you will have to wait for the EVPAD android box to update. From there, you can start enjoying its features. You can download apps from the Google App Store and start streaming content. If your smart TV box has international channels, you can begin viewing the content.